
AC3D Tutorial - Constructing a Desk – Part 1
By Chris Fleming
Preparation:
As with anything you need to properly prepare yourself, starting here: http://www.ac3d.org/ac3d/tutorials/GettingStarted/
Then reading your manual, which I found to be a good idea to do regularly, trust me you'll forget stuff and will ask how to do it later. We'll be using the grid as our guide, so it's important as you draw your polygons to be lining them up with the grid. I'm using the default grid configuration, also save regularly.
Process: Basically, we'll be building a desk from scratch, starting with the basic shape and modifying it to a desk. We'll be resizing, lining up, and editing polygons.
Starting with the back support
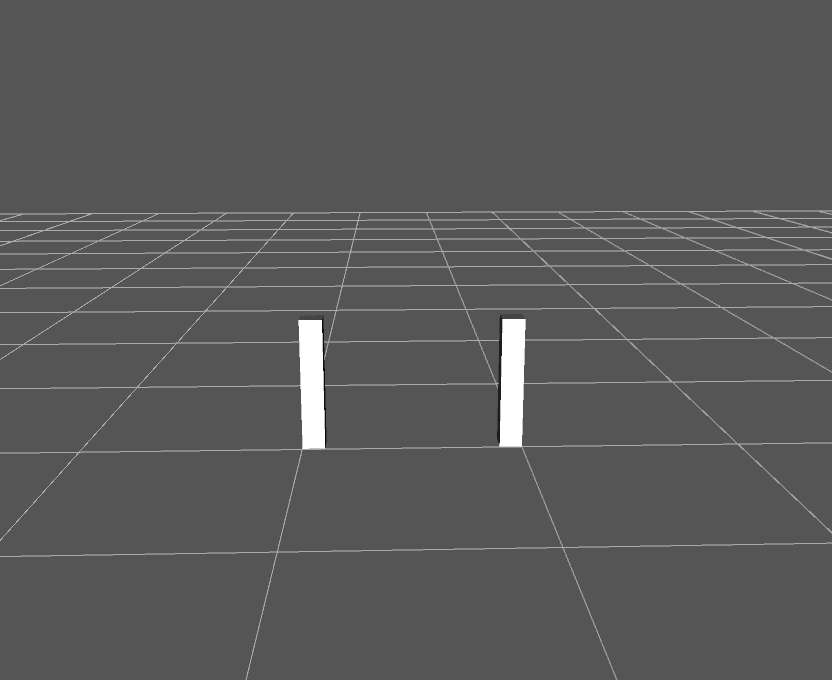
After starting AC3D switch to the top view. Here you will want to select the box tool to draw the support boards. It's important to keep track of which grid you're using for scale, to make things easy zoom all the way in and you should come to a point where the grid no new grids appear as you zoom in. The boxes you see are units, draw your first polygon on top of on of the boxes starting from the center of your screen.
Switch to your front view, here you will need to lengthen the box. On top of the box when selected is 3 handles click the middle handle and drag it so It's 5 units high. Click the duplicate button, switch to top view and drag the box 9 unit's to your right. Be sure to line these up in the units exactly using the side view to check and correct it should look like you have one box drawn. But a quick check in 3d view should show this:
Building the Tabletop
Switching to front view you want to draw a box 1 unit down under the left post to the right post, then extend it to the left post by clicking and dragging the middle handle in that direction. Switch to the Side view and be sure to extend it about 6 units out to the right, then duplicate this bottom and place one on top in front view as the desktop. Be sure to check the side view to align them correctly. You should see something like this in 3d view:
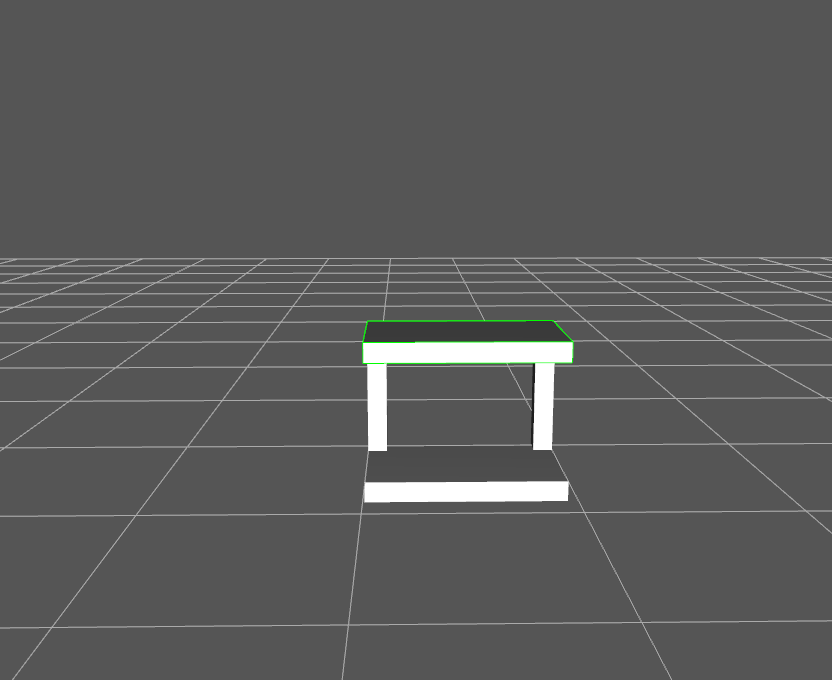
Take the time to line things up a bit just to keep things orderly, note that it doesn't need to be perfect at this point, just close. Switch to front view select the left post then extend the post 2 units to the right, then to the left 2 units for the right post. This is a good save point note also to name every object, makes good practice for more advance modeling later. See below for comparison:
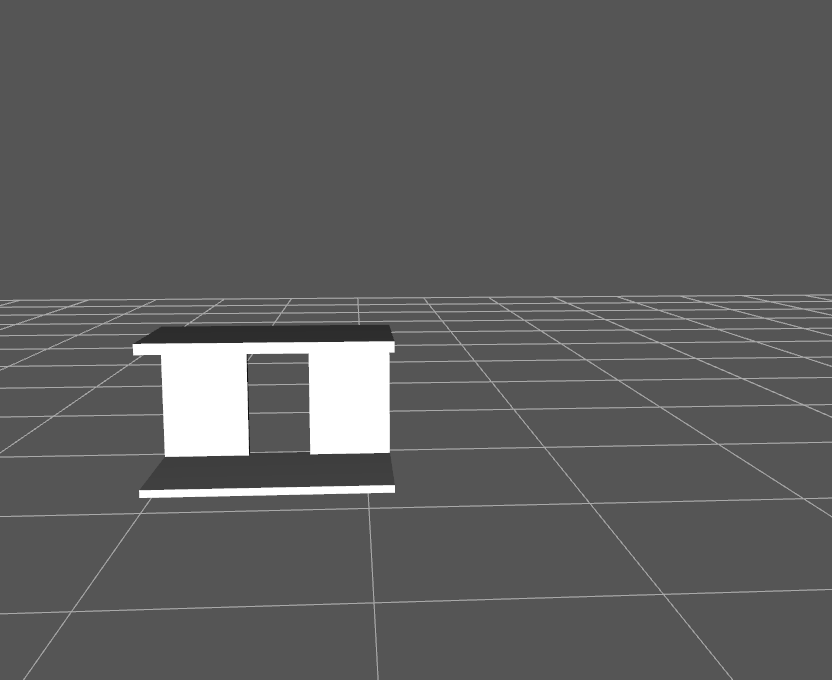
In top view in the front of your tabletop you want to draw a 1 unit cylinder, just draw it in the square unit. Scale it down to about half that by holding the control key and clicking anyone of the corner handles and dragging them inward. Switch to side view then drag the cylinder over and extend it from the base to the desktop. Position the cylinder under the 6th unit of the desktop/base the line between the 5th & 6th unit. Duplicate the pole and use side and front views to line up, you should see something like this in 3d view after making a post for the other side:
Shelf
Support
Now we are going to build the shelf, but first we need to add the support. Take to time to name new objects and align everything be accurate as possible, this still isn't crucial so until it's aesthetically pleasing is fine. Reduce the Desktop thickness in side view to half a unit and do the same for base. Save and draw a 12 unit high 4 unit wide box in side view, size it to around half a unit width in the front view. Hide everything except the box you just drew, switch to vertex mode select the right edge then in the Surface menu choose divide, then do the same for the top edge. select The upper right corner vertex and drag it in the objective is to replace the corner with a angle. Not that if you start to see black at the top simply line up the 2 points at the top, viewing in wireframe helps you do this easier. All you should need to adjust is the 2 points from the top right corner down and to first 2 to the left. You should see something like this:
Line up the side on the right side after unhiding the selection, you may need to rotate the selection be sure to use all 3 views. Start with the top view and position the side, then the front view line up the bottom of the side to the top of the base but to the side of the base. Duplicate this and place one on the left, then extend the base under the sides. Your work should resemble this:
Adding the bookshelf & finishing touches
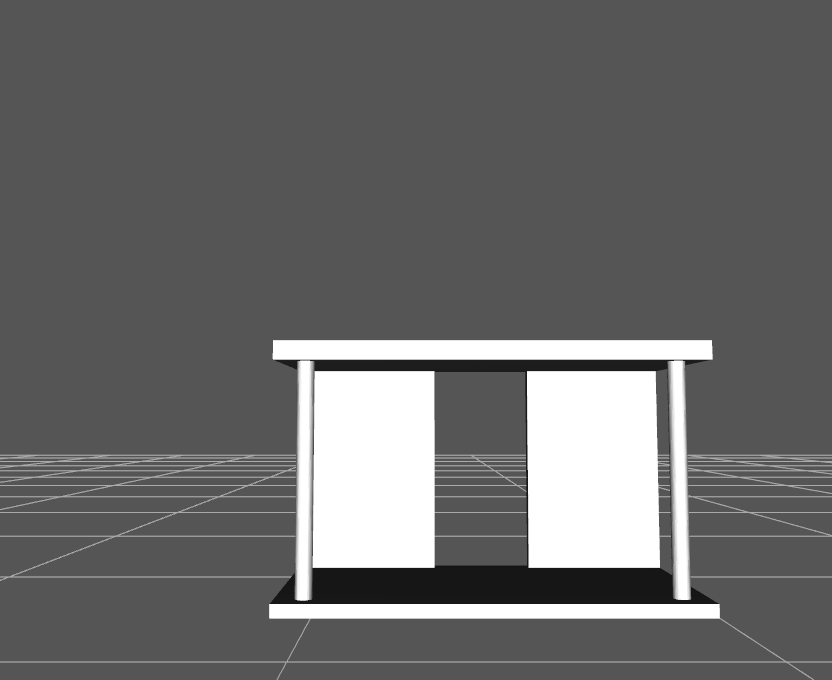
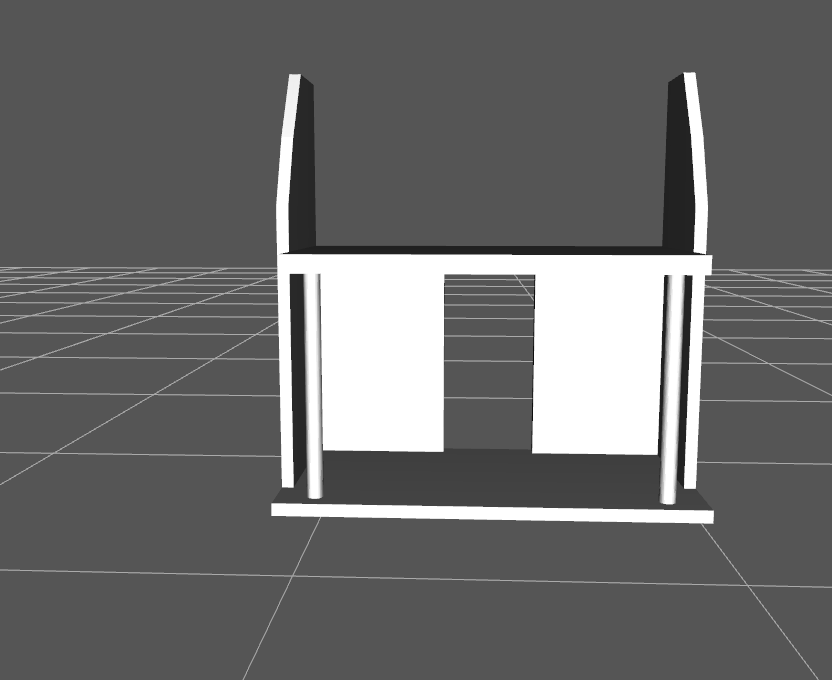
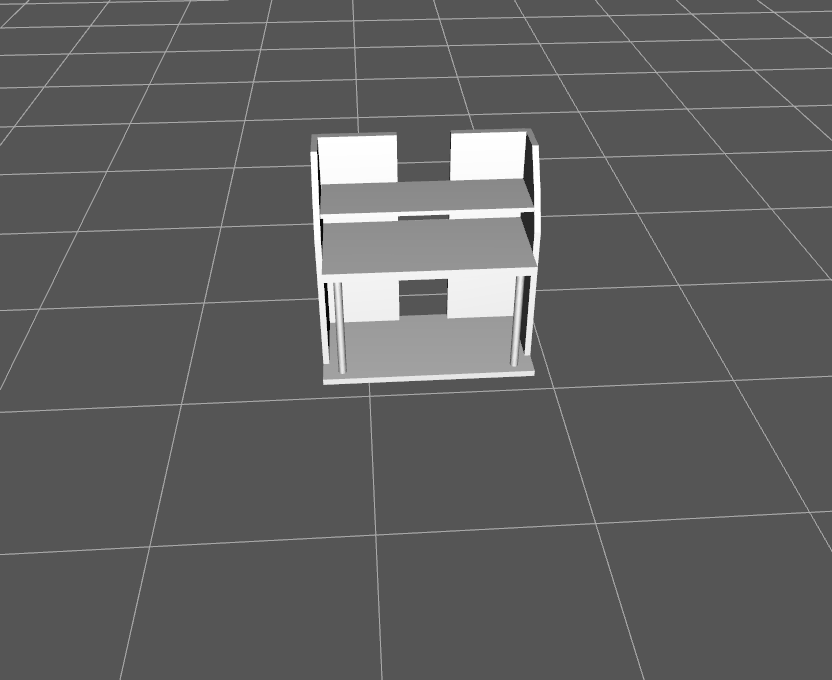
Select the desktop, duplicate it then move it in front view about 2.5 units up and center it there. Then in Side view reduce it to about 2.5 units wide. Working in Wireframe mode makes this easy, hide the 2 sides you made before. now make the back boards(formerly the posts, drag to select both) a half of unit. Then extend them up 6 units, aligning the shelf with them as well as the sides which you should unhide with the boards still selected. Now add a top shelf to the Left and right make the width in front view no longer than the boards thickness is up to you. Now select the front edge of the desktop in top view, and divide it. Drag the middle point out slightly to make it not look so box like. You can do the same to the Top shelves as well. After your done with that select all and click the number 4 in the bottom left hand corner group to color the desk, then holding select in front view click both poles and color them gray. Save
Points to note about this tutorial
Congratulations on completing the tutorial!!! More time can be taken to creating a more curved realistic desk. However that wasn't the point of the tutorial. I hope you got a understanding on how to take a basic shape modify it continuously until you got the desired results. I really wanted to get you familiar with editing and moving polygons and vertices around. Also to see the value in using all of your views to manipulate objects, and how you have to adjust a object in more than one view. I'm sure their are many things I could have done to speed up the tutorial or explained better. So Criticism and comments welcomed and in the mean time I'll work on a addition to the tutorial for the wheels that go on the bottom